1. Find TikTok under Marketing in your WooCommerce Dashboard, otherwise as an Extension in the Extension Marketplace. Download the extension and click Connect Account to get started.
2. Log into your TikTok account to activate setting up the integration.
Alternatively, Sign up for a new TikTok account.
3. Authorize TikTok For Business to connect using your TikTok Account.
4. Having successfully authorized and connected your TikTok account, you will be able to Register for a brand new or Log in to an existing TikTok For Business Account.
If you have previously signed up for a TikTok for Business Account using your TikTok Account here, you will notice that your TikTok For Business account is already connected.
5. Having successfully connected your TikTok For Business account, you will be prompted to connect (or create) your TikTok Business Center.
To create a new TikTok Business Center, click Create New under the Business Center section.
To connect an existing TikTok Business Center*, select one that belongs to your TikTok For Business account and click Connect.
6. Then connect your TikTok Ad account or select an existing TikTok Ad account associated with your TikTok For Business account and click Connect.
To create a new TikTok Ad account, click Create new.
To connect an existing TikTok Ad account, select one that belongs to your TikTok For Business account* and click Connect.
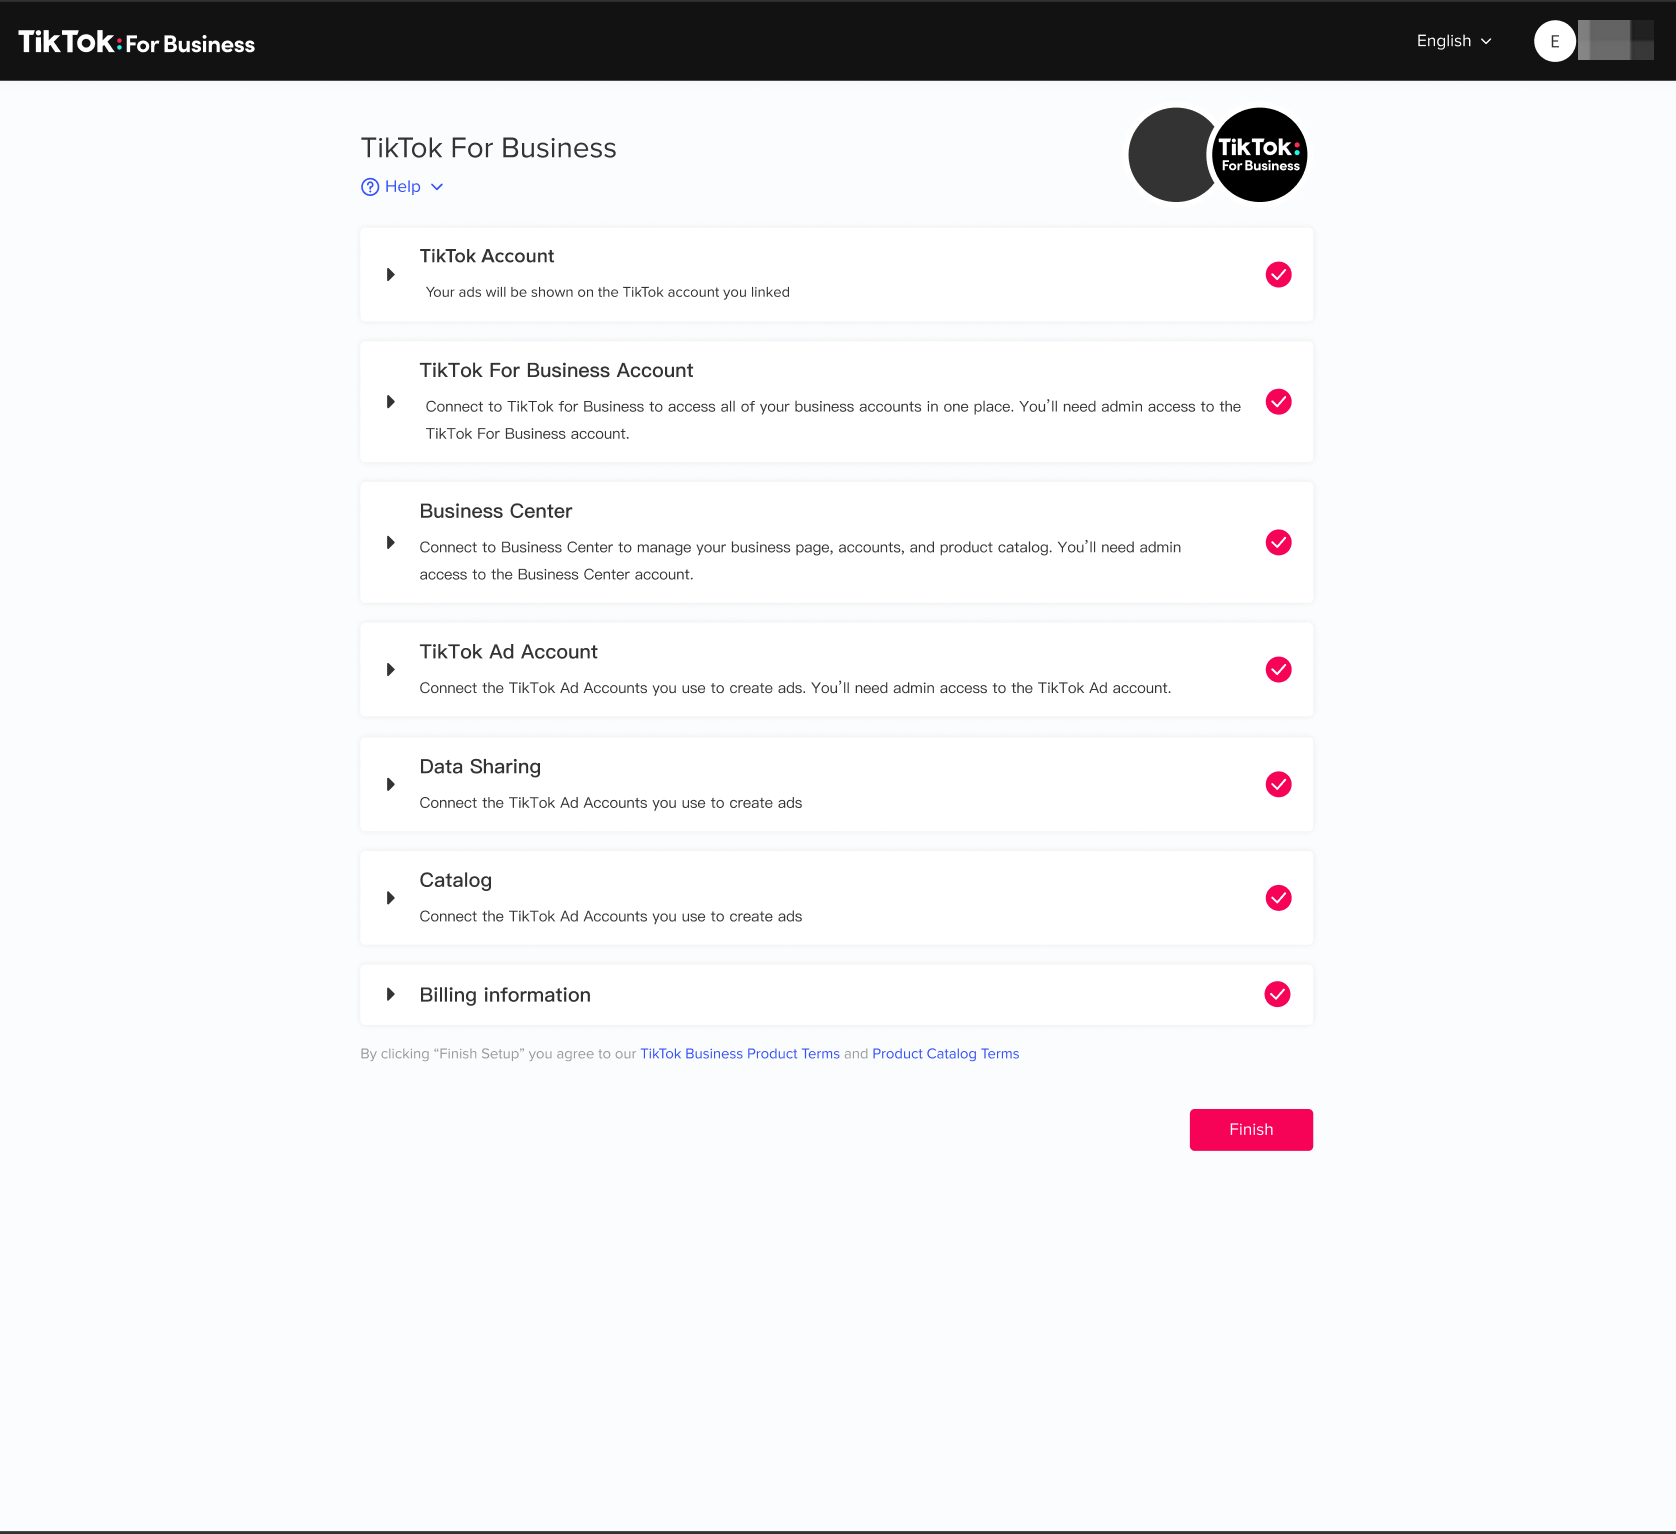
7. Having successfully connected your TikTok account, TikTok For Business account, TikTok Business Center, and Ad account, you will see the following page:
8. The next step is installing the TikTok Pixel embedded in our integration:
If you do not currently have a developer mode Pixel, or have installed your developer-mode TikTok pixel recently (<2 months of use), follow the instructions below:
Remove your existing developer-mode TikTok pixel from your commerce site - Make sure it is not being currently used by any active campaigns.
Return to the integration set-up and click “Create New” to create and install a new pixel.
Make sure the “Advanced Matching” feature is ON to improve the match rate between TikTok ad clicks and conversions that happen on your website.
9. If you are an established developer-mode pixel user (>2 months of use) and prefer to keep yours, follow the instructions below.
Proceed with the integration set-up and click “Create New” to create and install a new pixel.
After completing the integration set-up in all its parts (see following pages), you will be able to remove the newly-installed pixel with the support of your developer by following the instructions here. You will then be able to use your existing developer-mode Pixel and the new integration seamlessly.
NOTE: By deactivating the newly-installed pixel, you won’t be able to leverage on the Advanced Matching feature.
10. Set up your product catalog syncing by clicking Create New. This will sync your existing product catalog onto your TikTok Business Center.
NOTE: Catalog is required to set up your TikTok E-Commerce Platform Partner Integration. The ability to create a catalog and/or use catalog-based ad solutions may vary based on your market and region; learn more about catalog here.
11. Once each section is completed, click Finish Setup.
12. You can then choose to get started with TikTok Ads.
13. Fill out all the fields needed to generate a conversion campaign.
Campaign Name — Choose a name for your ad campaign. This is for internal reference only and is not visible to users.
Promotion Type — Select what you will be promoting (a product from your synced catalog or your store’s homepage URL).
Ad Creative — Set up your video creative by either uploading your own video or utilizing TikTok’s Smart Video creation tool.
Display Name & Profile Image (under Advanced Settings) — Deliver your ads with a custom profile image and display name that will be shown to users.
Conversion event — Select which event you want to optimize for. See the full list of optimization events enabled for your WooCommerce store here.
Audience targeting — Choose an audience you would like to target based on your product and experience
Budget & Schedule — Set your campaign budget and schedule the first date & time for delivery. The system will automatically optimize delivery to keep the best cost-per-action.
14. If you don’t have an existing video, you can use TikTok’s Smart Video Generator tool to automatically create a video using product photos and images uploaded from your computer. This is a helpful solution if you don’t have video production capability or video editing experience.
15. Click Create video under Ad creative to get started.
Drag and reorder images to finalize the flow of the video ad.
Optionally add a discount price and product information text.
Set the video style:
Dynamic — The video generated is fast paced.
Peaceful — The video generated is slower paced.
16. Select Next
17. You will be prompted to add your Payment information. Enter your Business address, select your payment method and click Next.
18. Enter your Credit or Debit information and select submit.
NOTE: Billing & Payment information must be set up in order to start creating and delivering ad
The TikTok Integration Dashboard automatically opens to the Overview tab. Here you will be reminded of important product updates and actions to complete, like adding your Payment & Billing information.
You will also be able to view the status of your TikTok Marketing account as well as access your product catalog.
19. To add your Payment & Billing information from this module, select "Add now" and follow steps 16-18
NOTE: Billing & Payment information must be set up in order to start creating and delivering ads
20. Once you've confirmed your Payment & Billing information, to start creating ads, select "Create Campaign" under TikTok Marketing
On the TikTok integration dashboard, navigate to the ‘Settings’ tab to manage your TikTok Business Center, TikTok Ad Account, Data Sharing (pixel), Payment methods, and disconnect your account from the integration.